Calling me by someone else’s name
Context
You might be interested in the follow up post on updating an archived static WordPress site.
I noticed some oddness with my blog’s appearance in google search results:
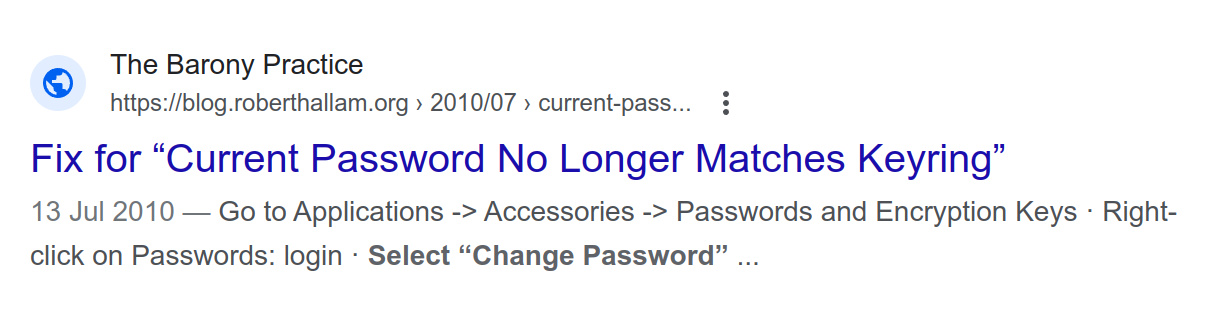
I’m not sure why. Google’s help pages on page titles aren’t much, well, help.
There’s a few things I can do to help clear things up.
Stop nginx serving the other site as default for https/SSL
Navigating to https://<my blog's IP> gives the other site and a cert error because it’s service that site’s cert, not one for the IP address. It probably shouldn’t give either.
Since my nginx ‘default’ site in /etc/nginx/sites-enabled/ has disappeared. I created one with the following:
server {
        listen 80 default_server;
        listen [::]:80 default_server;

        return 444; # begone
}

server {
        listen 443 default_server ssl;
        listen [::]:443 default_server ssl;
        ssl_certificate /etc/nginx/default.crt;
        ssl_certificate_key /etc/nginx/default.key;

        return 444; # begone

}
Note that I almost certainly didn’t need to split this into two server blocks (one for regular http and one for ssl), but I did it that way so I could test each separately- I don’t want bad config messing up the live sites. To those of you who are screaming “that’s exactly what a development environment is for!!”; yes, you’re right, now hush.�
Thanks to this SO QA.
444 is used for an empty response.
Cert generation was done via: openssl req -nodes -new -x509 -subj "/CN=localhost" -keyout /etc/nginx/default.key -out /etc/nginx/default.crt
�: The thought occurred to me now as it has in the past to set up a proper development environment for web stuff, it’s something that I should do. The downside would be to potentially lose sight of or focus on the task at hand.
This is a big deal in general cases: if you’re constantly solving immediate problems you don;t have time to stop and analyse processes and see the bigger picture. If it takes ten minutes to solve a problem quickly as it crops up, and two hours to implement a comprehensive process that eliminates problems cropping up at all, it makes sense to do the latter if you expect a dozen or more problems. But if the problems keep coming and you never get the chance to spend those two hours, the problems will just keep coming.
This is a rather less elegant way of saying something simple: systems should have some slack in them.
Splitting Apart Co-Hosted Virtual Multiblog (VMB) Sites
Many many moons ago I decided that maintaining separate WordPress installs was for chumps, which may have been my actual contemporaneous words. I used a special plugin called Virtual Multiblog / VMB by Strider. Why not use WordPress’ own network hosting features, I hear you howl? Well, those weren’t yet in WordPress by the time I decided I wanted to do this; and when they were, activating the network feature borked the install in a way that was really tricky to fix due to lacking a dev/prod split back then too.
Now it’s time to split them apart, back into individual WP installs.
Simple No-Media Site
This was relatively straightforward:
- Create a new WP install (via wp-cli) in a different directory:
wp core download --path=./wp/ - Set up the credentials:
wp config create --dbname=databasename --dbuser=username --dbprefix="siteprefix_" --prompt=dbpass - Remove the symlink to the shared WordPress install:
unlink blog - Use the new WP install:
mv wp blog
And� white screen of death!
The only thing I forgot was to move over the custom theme I had created, and update file references in the header and footer. Once I had that moved over and updated, the separate install worked.
Site With Media
Oh boy. After the quick success of the first, I thought this was going to be easy- easier, in fact, since it didn’t have a custom theme. The site was running the classic Twenty Seventeen theme with customisations.
�oh. Customisations means media. Media will break in a new install, which won’t have the media from the old one. Because of how it was set up, media from different sites are mixed together:
wp-content/
    2023/
        08/
            image1-siteA.jpg
            image1-siteB.jpg
            image1-siteC.jpg
            image2-siteA.jpg
            image2-siteC.jpg
Of course, which media belongs to which site is not as clearly demarcated!
Thankfully, the site knows its own media, assuming it’s been uploaded via the media uploader. That assumption probably doesn’t hold true for me in particular as I’m sure I uploaded a few files via scp/FTP/rsync to obviate the WordPress upload limit, but we’ll have to deal with that later.
So we have a couple of options:
- use Tools ? Export to produce an XML of the media
This can then be reimported using a bit of trickery:
a. export the media XML from site1
b. rewrite URLs in the XML, site1.org ? site2.org
c. move site1 to separate new install (? breaks all media)
d. import modified XML and let WP grab the media from site2.org (? hopefully fixes media)
This should work as the media is available from any of the sites being hosted by the shared WP install. - Use the ‘Export Media Library’ plugin
This can be told to produce a zip of nested directories, which we’ll use to recreate the media. For the site that hasn’t had much activity in ten years or more this created a 1.5GB zip! Interestingly, the plugin created a duplicate entry in the zip, which is apparently in-spec according to an offhand remark in an SO answer.

The second approach worked, or at least it did when I moved the media into the wp-content/uploads subdirectory! (oops)
Archiving a site and making it static
One of the WordPress sites contains a trove of stuff I’d like kept for posterity, but I don’t want the vulnerability footprint or overhead of maintaining a dynamic site.
Off the top of my head are a couple of thoughts:
- a local crawler which can save the pages and media (plain wget might even fit the bill here!)
- save the sitemap, and pull down those URLs
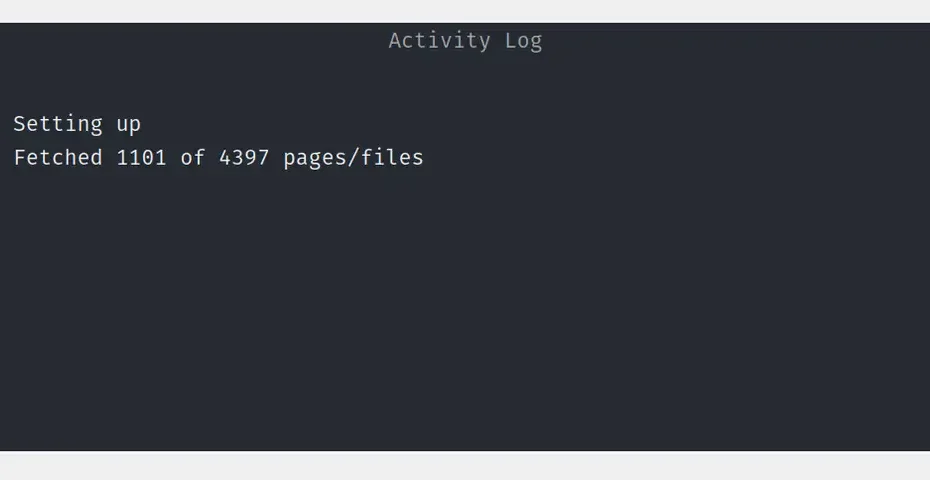
There is a WordPress plugin called Simply Static which seems like it might fit the bill however! It’s working away:
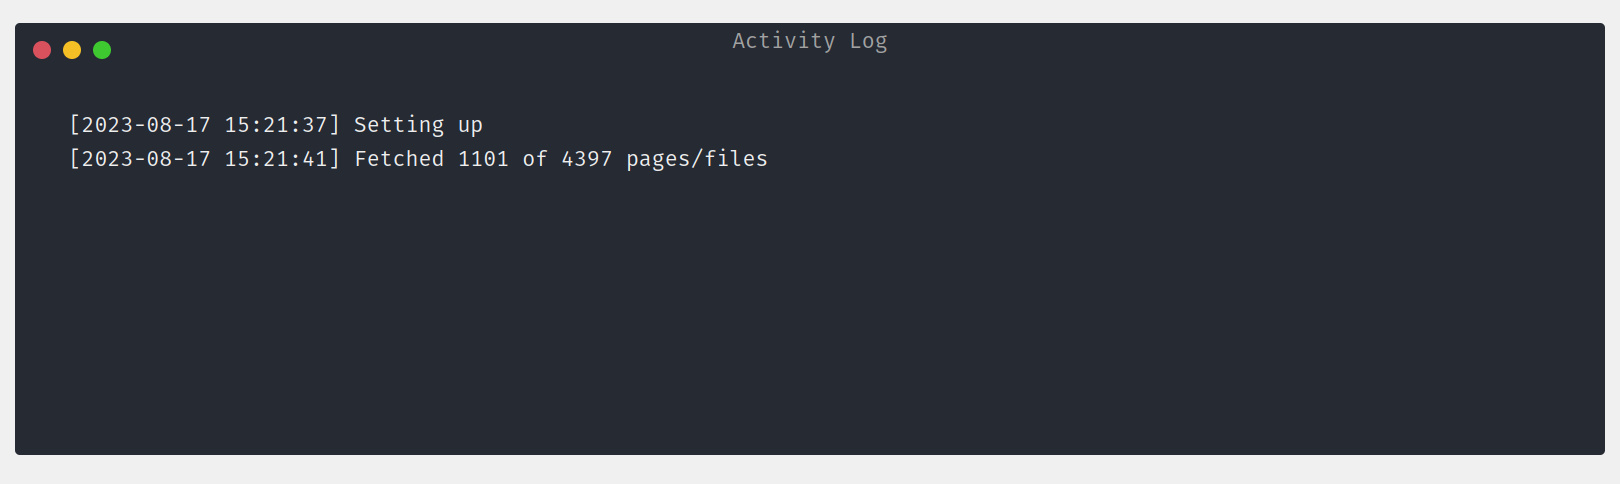
Note that it’s not an actual terminal window, that’s just their fancy UI for showing progress. It took 50 minutes to figure out what to process, then:
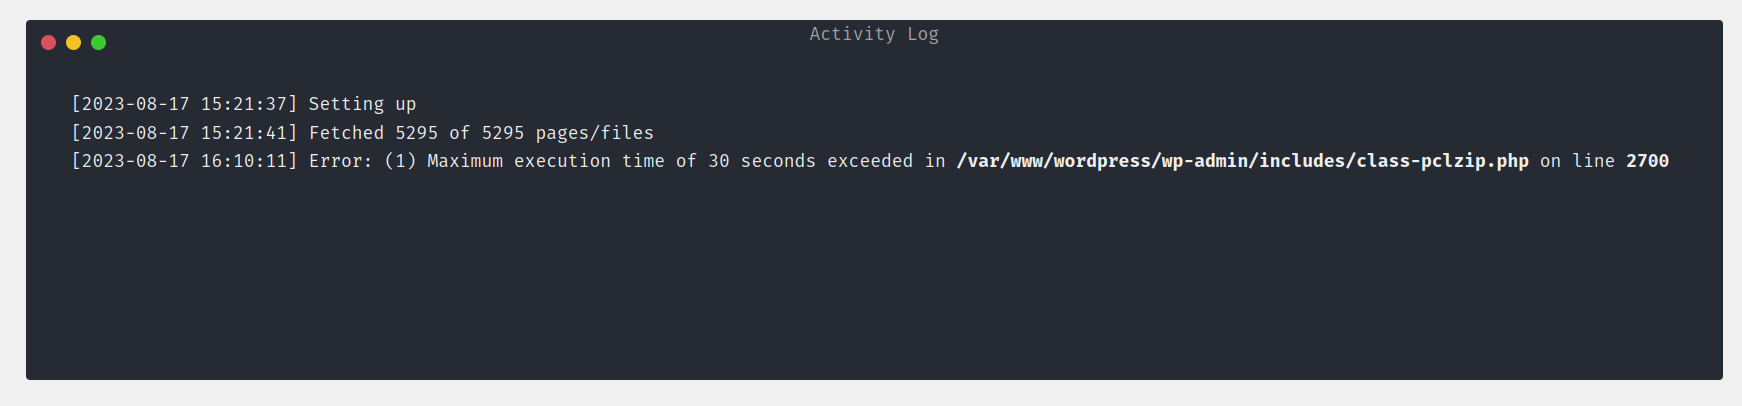
-_-
A temporary minor increase in max time should suffice:
// wordpress/wp-admin/includes/class-pclzip.php
ini_set('max_execution_time', '300');
I ended up with a 2.4GB zip, which I downloaded locally to see how I would go about mapping the generated html pages to the extant WordPress permalinks. I thought I’d have to get creative and figure out a bunch of rewrite rules, lose a few corner cases� Nope!
root /path/to/archives/; and index html; were enough:
# file: archived-site.conf
server {
    server-name archived-site.org.uk
    root /var/www/archived-site/;
    index index.html;
}
Plus, the generated zip of the site is still on the server, so I can just extract it on a directory without having to re-upload it back like I did with the media I exported.
Simpler than I expected!
Update: It turned out that I wanted to update this site after deploying the archive. You can read about that in the follow up post on updating an archived static WordPress site
Managing the new sites
One of the advantages of having a shared wordpress install was maintenance ‘for free’- when I updated the install on one site it would update on the others.
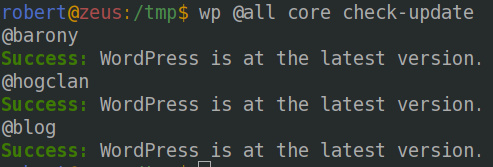
Thankfully wp-cli makes it very easy to do just that. Their documentation on running commands remotely with aliases ha an example of how to set up the /home/user/.wp-cli/config.yml file with aliases so you can check all for updates with one command: wp @all core check-update. This is ripe for automating so as not to forget to do that!
Bonus: Enabling nginx caching for speed
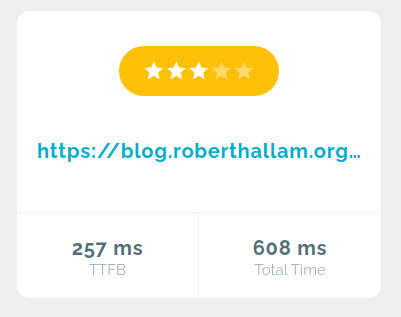
I had Lighthouse / PageSpeed Insights complaining about my TTFB:
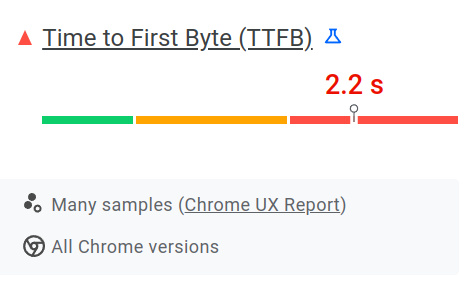
which in turn affected the performance grading:
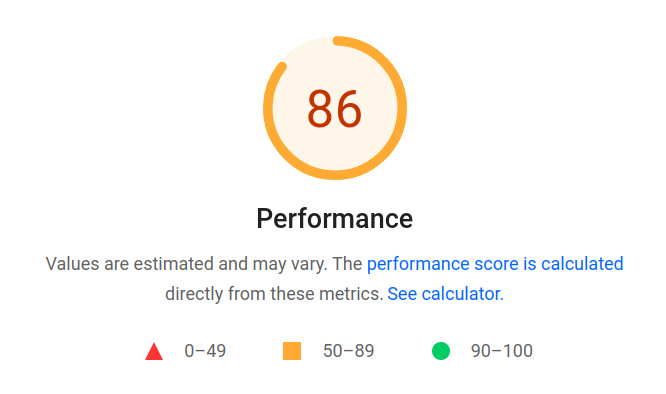
I decided to enable caching for the site, which required a tweak to the config to set up a cache path (named ‘WP’ here) and to actually use it:
# Cache at nginx level
fastcgi_cache_path /etc/nginx/cache levels=1:2 keys_zone=WP:100m inactive=60m;
fastcgi_cache_key "$scheme$request_method$host$request_uri";

# (other config snipped)

       location ~ \.php$ {
                # Use caching set up above
                fastcgi_cache WP;
                fastcgi_cache_valid 200 60m
                # (other location config snipped)
                }
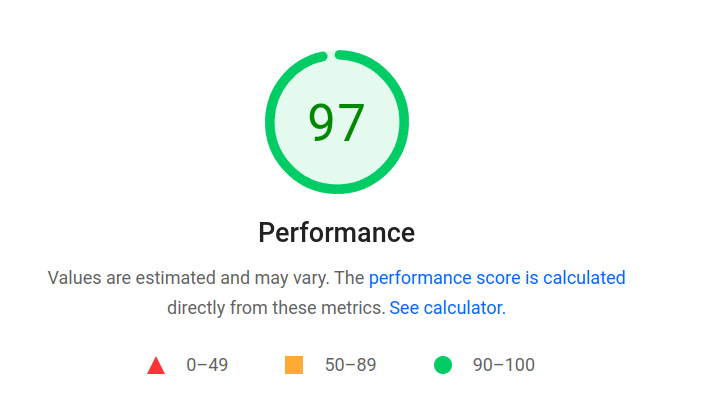
Much better!
Pingback: Updating A Static’d WordPress Site – Rob's Blog