
Now make it do stuff
In our quest for an HTPC, we previously talked about installing Arch Linux on the Wyse 3040 back in Part 1. Now that we have a functional system that we can boot, we can proceed with making it actually play media.
Interested in more info on the Wyse 3040? ParkyTowers has a treasure trove of info on the hardware, disassembly, firmware, installing TinyCore Linux, and some further reading. Enjoy!
- Hardware Video Acceleration
- Installing Media Software
- Running As Systemd Services
- Troubleshooting
- Error: “libva error: /usr/lib/dri/iHD_drv_video.so init failed”
- Error: “vaInitialize failed with error code -1 (unknown libva error),exit”
- I have the right driver installed but vainfo/vdpauinfo isn’t working
- Chromium / Chrome only appears in half of the screen
- I don’t get any audio from Kodi
- I don’t get any audio from Chromium
Hardware Video Acceleration
First, it’s worthwhile enabling hardware acceleration of video playback. For modern systems this is optional, though recommended, as they have enough processing headroom to handle video playback in software without difficulty, by and large.
However, the Wyse 3040 has a tiny Atom x5-Z8350, which means it’ll struggle with video playback, so this is a necessary step.
The Arch Wiki has a useful page on hardware video playback, but the short version is that we are looking for the libva-intel-driver package to run the HD Graphics integrated GPU. While we’re at it, it’s worth verifying what we’ve installed, for which you’ll need some kind of display running:
# pacman -S libva-intel-driver
...
# DISPLAY=:0 vainfo # $DISPLAY set here if you're running via SSH
vainfo: VA-API version: 1.7 (libva 2.7.1)
vainfo: Driver version: Intel i965 driver for Intel(R) CherryView - 2.4.0
vainfo: Supported profile and entrypoints
...
# DISPLAY=:0 vdpauinfo
display: :0   screen: 0
API version: 1
Information string: OpenGL/VAAPI backend for VDPAU

Video surface:

name   width height types
-------------------------------------------
420     4096  4096  NV12 YV12 UYVY YUYV Y8U8V8A8 V8U8Y8A8 NV24 YV24 P010 P016 Y_U_V_444_16
422     4096  4096  NV12 YV12 UYVY YUYV Y8U8V8A8 V8U8Y8A8 NV24 YV24 P010 P016 Y_U_V_444_16
...
For these I started a display using Kodi or Chrome (described below) and used the $DISPLAY environment variable; though both vainfo and vdpauinfo support the --display argument.
Installing Media Software
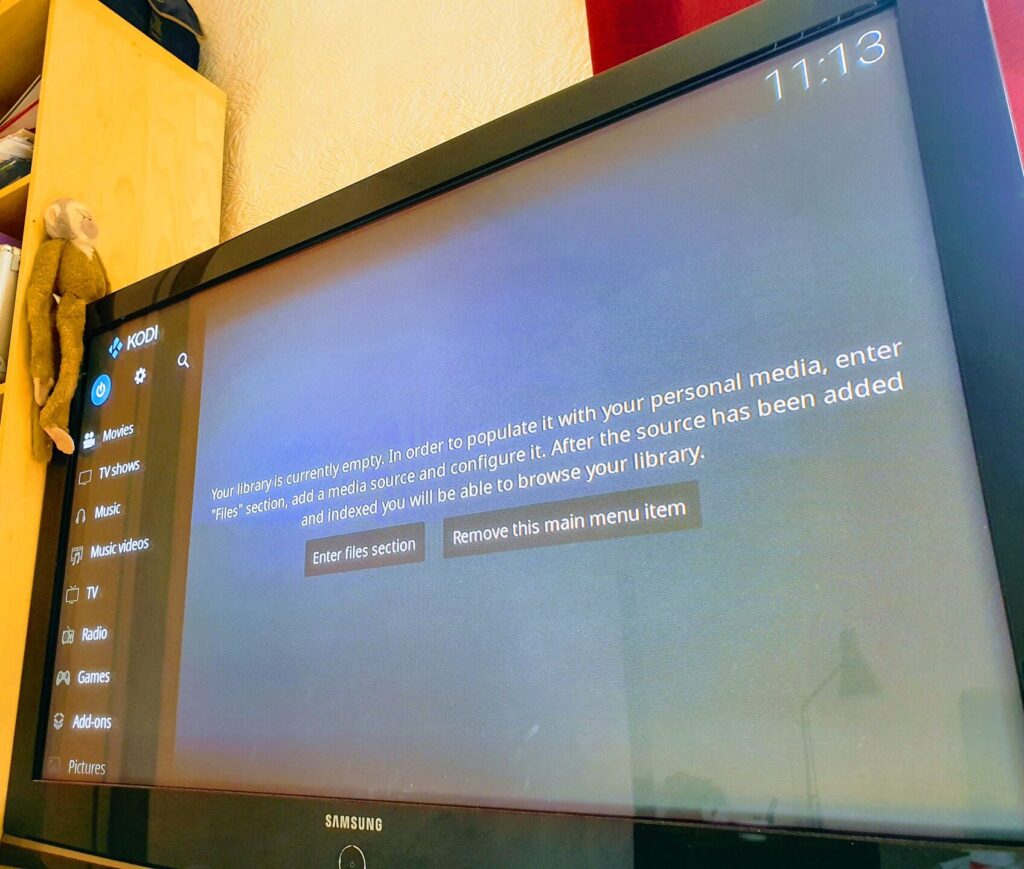
Kodi
The giants of media library software are Plex and Kodi. I use the latter. If all you are planning on using the HTPC for is Kodi, it may be worth considering the Kodi standalone service package provided in AUR. I used this for initial tests. Install using your favourite AUR manager; if you’re looking for a recommendation, I use trizen.
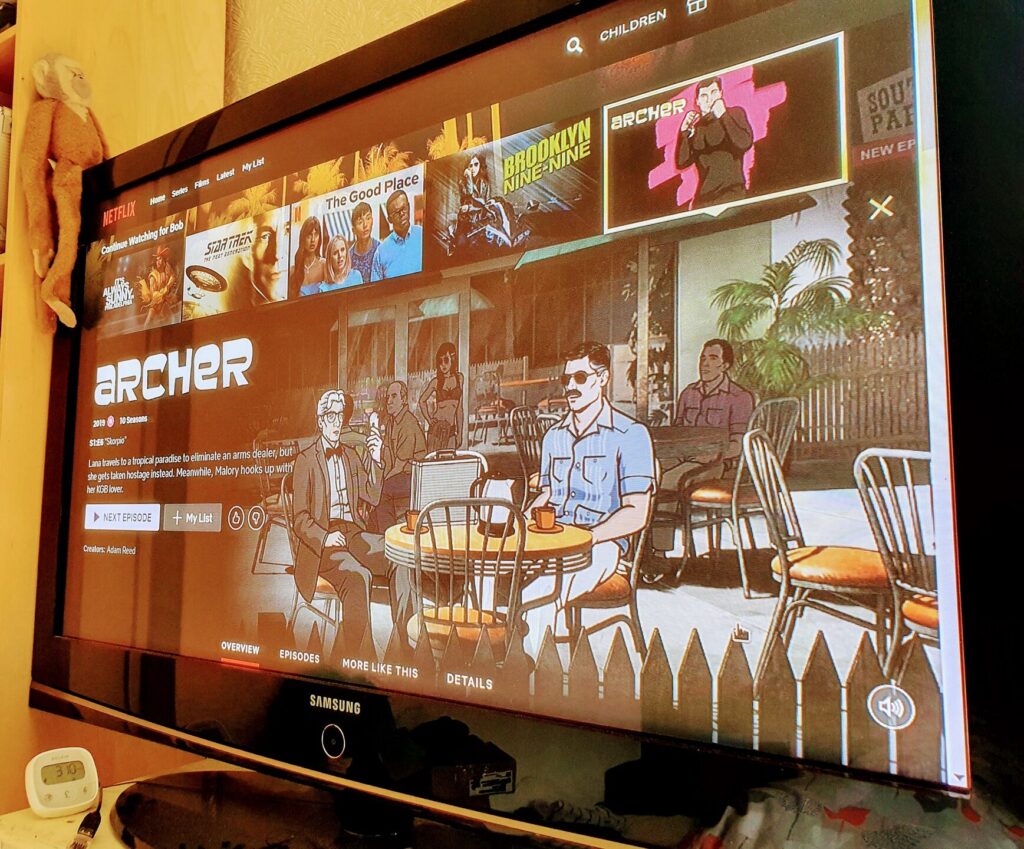
Netflix (Hardware-Accelerated Chrome)
Note: Thanks to Bob for links and guidance in getting this working.
While there are a few packages that provide a Netflix experience under Arch, I went the browser route. While I normally use Chromium, the open source version of Chrome, I was under the impression that the latter was the best option for Netflix in Linux due to DRM and such. Sadly, it appears Google have no intention of bringing hardware acceleration to Linux, so after toying with Chrome I went with Chromium, which does have hardware acceleration in Linux!
Firefox hardware acceleration may work instead, but it requires a nightly version and Wayland.
For this hardware acceleration needs to be forced on in Chromium (which means not having Wayland). This requires a vaapi-enabled version of Chromium, available from AUR as chromium-vaapi.
Since compiling Chromium on a weak Intel Atom with a piddling amount of storage and RAM takes roughly an eternity plus-or-minus an eon or two, you can install the version from the archlinuxcn repo. Caution: I have not verified that version, so I cannot vouch for its safety! That said, you can add that repo to your pacman repo list, or grab the package from the package list.
Once installed you can start chromium-vaapi from the command line with xinit, add it to .xinitrc for use with startx, or create a service for it as below.
Running As Systemd Services
Since Kodi came as a standalone service, we can repurpose the systemd service file:
$ less /usr/lib/systemd/system/kodi.service

[Unit]
Description=Kodi standalone (X11)
After=remote-fs.target systemd-user-sessions.service network-online.target nss-lookup.target sound.target bluetooth.target polkit.service upower.service mysqld.service
Wants=network-online.target polkit.service upower.service
Conflicts=getty@tty1.service

[Service]
User=kodi
Group=kodi
PAMName=login
TTYPath=/dev/tty1
Environment=WINDOWING=x11
ExecStart=/usr/bin/xinit /usr/bin/kodi-standalone -- :0 -nolisten tcp vt1
Restart=on-abort
StandardInput=tty
StandardOutput=journal

[Install]
WantedBy=graphical.target
The part the actually gets executed to run Kodi is ExecStart=/usr/bin/xinit /usr/bin/kodi-standalone -- :0 -nolisten tcp vt1. The rest concerns when it should be run and as which user.
For chromium.service, I changed the service to run as my user, and ExecStart to ExecStart=xinit /usr/bin/chromium --start-maximized --kiosk "https://netflix.com" -- :0 -nolisten tcp vt1.
To run this, I created a file in /etc/sudoers.d specifying that I should be able to execute specific service-related commands without a password prompt:
%robert ALL= NOPASSWD: /bin/systemctl start kodi
%robert ALL= NOPASSWD: /bin/systemctl stop kodi
%robert ALL= NOPASSWD: /bin/systemctl start chromium
%robert ALL= NOPASSWD: /bin/systemctl stop chromium
Troubleshooting
Error: “libva error: /usr/lib/dri/iHD_drv_video.so init failed”
Error: “vaInitialize failed with error code -1 (unknown libva error),exit”
This happens if you have the wrong driver installed, for example intel-media-driver instead of libva-intel-driver. Uninstall the wrong driver and install the correct one.
I have the right driver installed but vainfo/vdpauinfo isn’t working
If the correct driver isn’t loading, you can specify one using $LIBVA_DRIVER_NAME:
$ echo $LIBVA_DRIVER_NAME
i965
Chromium / Chrome only appears in half of the screen
This happened when running Chromium standalone. Fortunately there is a solution:
“I edited
and explicitly set the window size”.config/chromium/Default/Preferences
This goes in the browser attribute. For my 720p plasma TV from when Adam was a boy, I used:
"browser":{"window_placement":{"bottom":720,"left":0,"maximized":true,"right":1280,"top":0,"work_area_bottom":720,"work_area_left":0,"work_area_right":1280,"work_area_top":0}},
I don’t get any audio from Kodi
Kodi managed its own audio just fine without ALSA or pulseaudio, but I had to configure it in system settings.
I don’t get any audio from Chromium
Chromium needs an audio interface; I used pulseaudio, started and enabled in user mode:
systemctl --user enable pulseaudio
systemctl --user start pulseaudi
Pingback: Turning a Dell Wyse 3040 into an HTPC (Part 3) – Rob's Blog